1. 直接使用云服务平台的API
我这里采用了阿里云的通义千问API:首次调用通义千问API,新用户开通即享每个模型100万免费tokens
首先将API-Key和QWenURL加入appSettings:
Bash
{
  "Logging": {
    "LogLevel": {
      "Default": "Information",
      "Microsoft.AspNetCore": "Warning"
    }
  },
  "AllowedHosts": "*",
  "APIKEY": "sk-c25d40c4550c49a3afa626a102defe9a",
  "QWenUrl": "https://dashscope.aliyuncs.com/compatible-mode/v1/chat/completions"
}
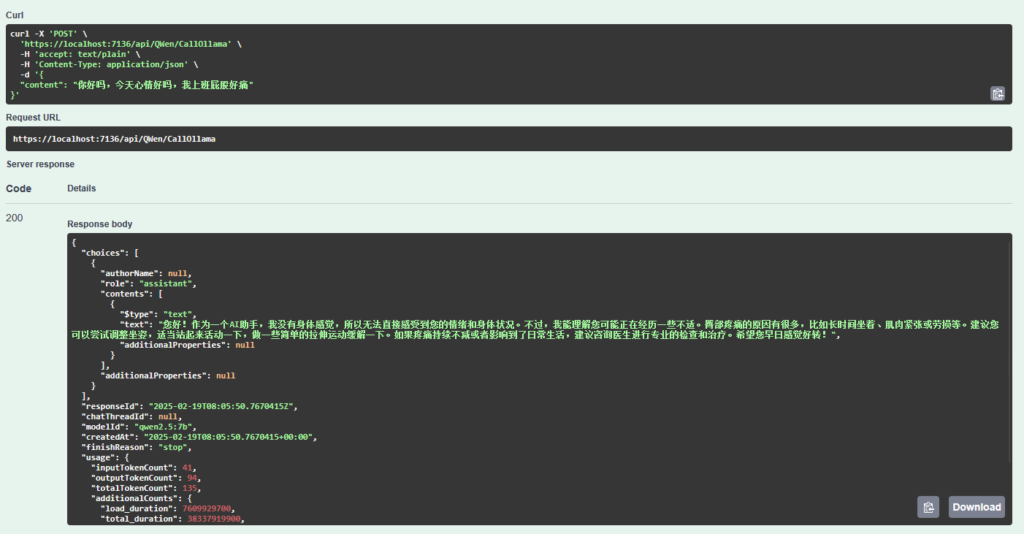
接下来按照其文档内容对自己的API进行一些修改,我这里将请求和响应都作为模型类进行序列化
C#
[HttpPost]
public async Task<BotResponse> CallQWen([FromBody] BotRequest request)
{
BotResponse response = new();
string? apiKey = _config["APIKEY"];
if (string.IsNullOrEmpty(apiKey))
{
response.Error = "APIKEY 没配置好";
return response;
}
string? url = _config["QWenUrl"];
if (string.IsNullOrEmpty(url))
{
response.Error = "QWenUrl 没配置好";
return response;
}
//序列化配置
JsonSerializerOptions jsonOptions = new()
{
PropertyNameCaseInsensitive = true,
WriteIndented = true,
Encoder = JavaScriptEncoder.UnsafeRelaxedJsonEscaping,
PropertyNamingPolicy = JsonNamingPolicy.CamelCase
};
string requestContent = JsonSerializer.Serialize(request, jsonOptions);
var client = _clientFactory.CreateClient();
using StringContent content = new(requestContent, Encoding.UTF8, "application/json");
client.DefaultRequestHeaders.Authorization = new ("Bearer", apiKey);
client.DefaultRequestHeaders.Accept.Add(new ("application/json"));
HttpResponseMessage callBotResponse = await client.PostAsync(url, content);
if (callBotResponse.IsSuccessStatusCode)
{
//先取出来
string responseContent = await callBotResponse.Content.ReadAsStringAsync();
//再序列化
response = JsonSerializer.Deserialize<BotResponse>(responseContent, jsonOptions)!;
}
else
{
response.Error = $"调用QWen失败,状态码:{callBotResponse.StatusCode}";
return response;
}
return response;
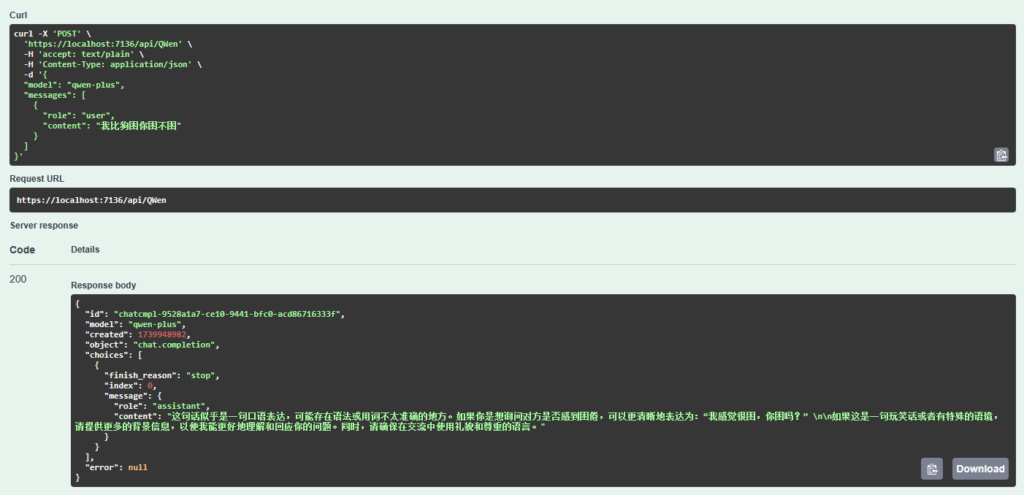
}结果:
2. 通过Microsoft.Extensions.AI调用Ollama本地大模型
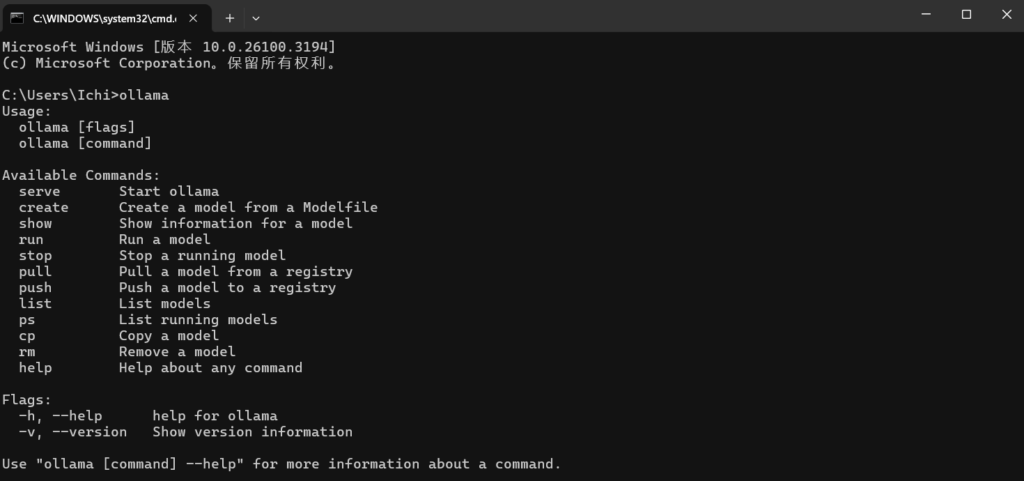
首先安装Ollama,安装成功后在命令提示符处输入”Ollama”,会出现帮助提示,即安装成功。
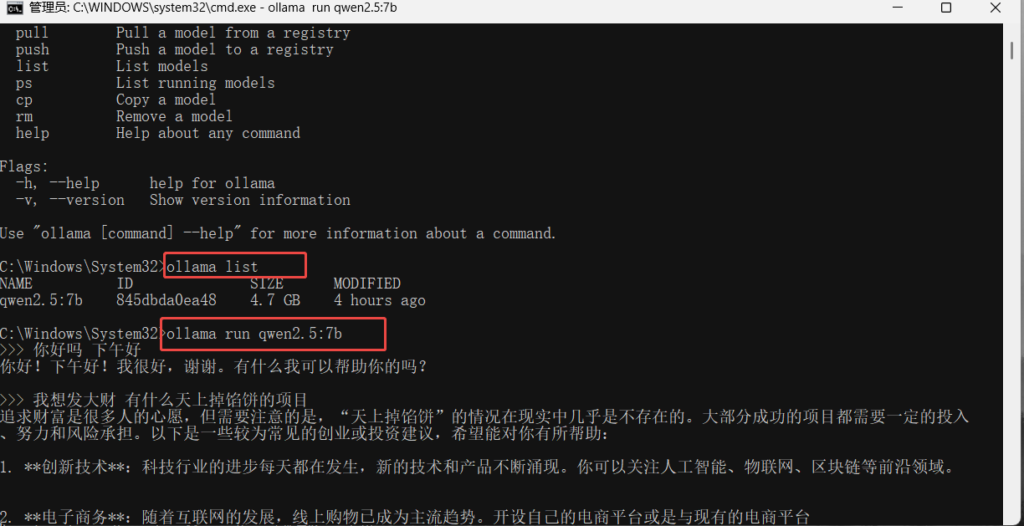
安装成功后,选择你想要使用的大模型以及版本,我这里使用了qwen2.5:7b。
由于我已经安装过了,直接使用Ollama list 查看即可看到,再使用ollama run qwen2.5:7b即可使用。
确认好ollama没问题后,打开.NET Core项目,在Nuget包管理器中安装Microsoft.Extensions.AI.Ollama
安装成功后,使用OllamaChatClient即可调用大模型:
C#
        [HttpPost]
        public async Task<ChatResponse> CallOllama([FromBody]ChatRequest request)
        {


            OllamaChatClient chatClient = new("http://localhost:11434", "qwen2.5:7b");


            List<ChatMessage> chatMessageList = [new(ChatRole.User,request.Content)];


            //GetResponseAsync方法底层还是一个PostAsJsonAsync
            return await chatClient.GetResponseAsync(chatMessageList);


        }
注意这里只是最基本的调用
结果: